Getting Started
Get up and running quickly with your Canvas App
Check out our new Introduction to Canvas Building Framework video series In these videos, we explain how to add the framework to your applications, how to design and build a page using components from the Canvas library, and how to modify the standard functionality such as emails or the signup flow.
Get the Template
Getting the Airdev Canvas Building Framework Template through Bubble's template marketplace is a snap.
Add to your account
The first step to getting the template is adding it to your Bubble account. To do this, go to the template page and press Use Template.
If you aren't signed in to a Bubble account, you'll be prompted to log in or sign up. Follow the prompts from Bubble to complete this process.
Create a new app
Now that you've added the template to your account you can create new apps in Bubble using the Canvas template! From the My Apps tab on your Bubble home page, click the blue 'New App' button. In the popup, click on the 'Start from a template' dropdown and select Canvas Building Framework Template.
Get the Chrome Extension
To extend your template with new Bubble pages and blocks from Canvas you will need to install the Chrome extension.
Explore the Admin Portal
A great feature of the Canvas template is that it comes preconfigured with an Admin Portal where you can manage all the settings for your application.
The Admin Portal is accessed from the front end of your application (not from the Bubble editor). To begin exploring your Admin Portal, when you are logged into the Bubble editor go to Data > App Data > All Users and then click on'Run as' beside the user with the email '[email protected]'
The admin portal offers access to the following settings from the left navigation menu:
Setup Checklist The Setup Checklist provides step-by-step guidance to help you get started with your new application as quickly as possible.
Branding From your app's name to your social media links you can setup all your applications branding here. Learn More
Header / Footer Manage the navigational links and icons for your header and footer. Learn More
Emails Add, edit, and preview email templates across your platform. Learn More
Settings Here you can update all the general settings for your application like the user signup process and your privacy policy
Analytics View analytics on new, active, and total users across your application.
Metadata View important app metadata (i.e. Roles and Pages) and manage app-wide variables.
Users View a list of all your users including role, last active, and email. Add a new Admin to your application.
Data Type 1 A sample setup to demonstrate how to expand the functionality of the admin portal using your own custom data types.
To unlock all the features of the template such as the ability to add Bubble pages and blocks with the extension, add APIs, and update your app's colors, be sure to complete the Install the Canvas extension step from the Setup Checklist.
Naming conventions
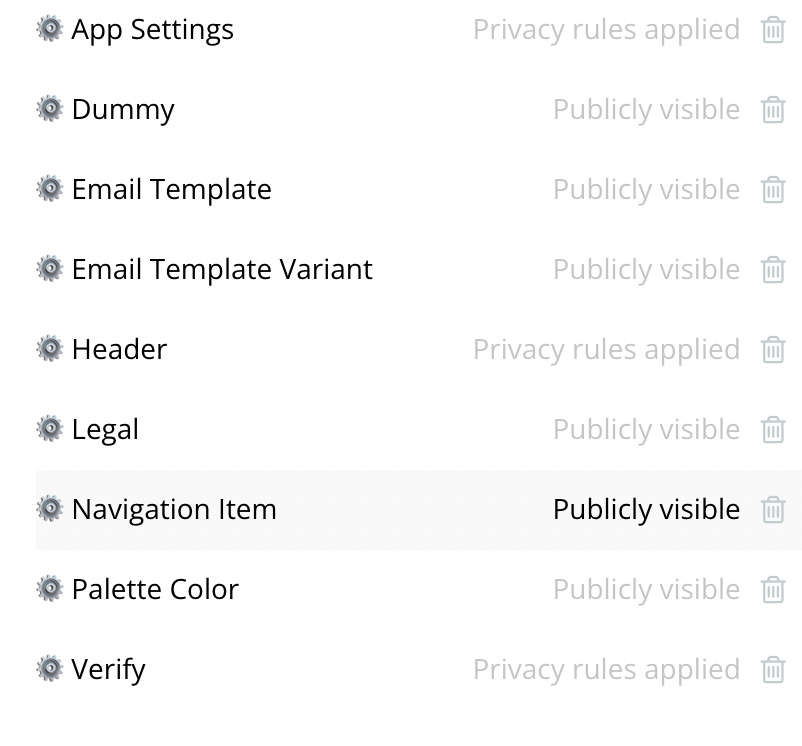
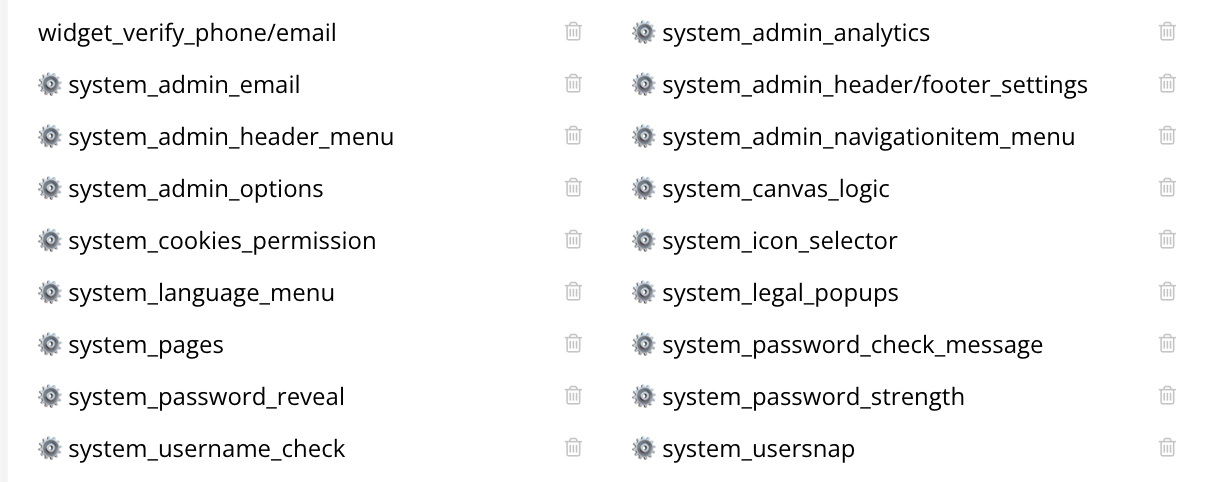
In names of data types and reusable elements, we have included a gear emoji (⚙) to indicate that these specific elements should not be edited, or that you should be very cautious about making changes there. These data types and reusables touch a lot of different features or are easy to break when changed.
The data types also include "system_" prior to the reusable's name.


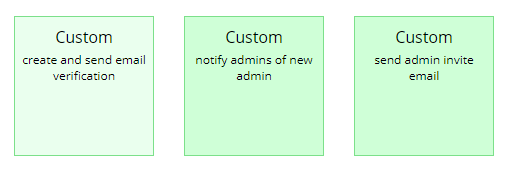
Another thing to note is that Canvas workflows are green. We encourage using workflow folders or creating a color coding convention for your app in order to better organize your app's workflows.

Was this helpful?