Roles & Permissions
Manage the high level user permission for your application
The 'Role' option set
Included in your Canvas template is an option set named Role that is used to manage the user permissions for your application. See Default Roles below.
Display attribute
This text is what is shown in the admin portal and throughout your application to display the role of a user.
Since the 'account' page lets a user manage their login credentials and profile data, you will typically want to add every role you create to the Account page's list of roles
Default Roles
Your Canvas template has two user roles preconfigured for you but you can add as many roles as you need to meet your applications needs.
The App Admin Role
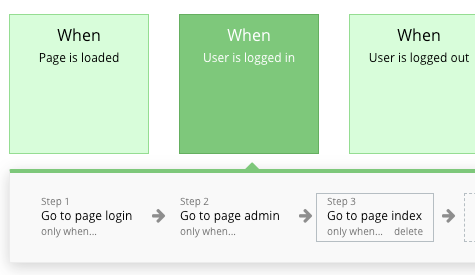
Redirects and permissions are predefined in your template that will automatically direct a user assigned the App Admin role to the admin portal when they are logged in. Privacy conditions are in place as well that will prevent any user without the App Admin role from being able to view the admin portal.
The Standard Role
This role represents any default user on your platform that does not need access to the admin portal
Adding a new role
To add a new role:
Add a new option to the Role option set (e.g. Account Admin or Outside Sales)
Add the new role to any Bubble Page option that the role should be allowed to access
Assign the Role to Users, usually through one of these methods:
Assign the new Role to users manually in the Bubble Editor's Data tab
Build the logic to let App Admins sign those Users up from the admin page
Build the logic to assign the new Role to the Users when they're signed up
[Optional] Create a new header for the role and set the menu and navigation items to display for the role (read more)
The 'Bubble Pages' option set
This option set is used to manage a user's permission to view a specific page.
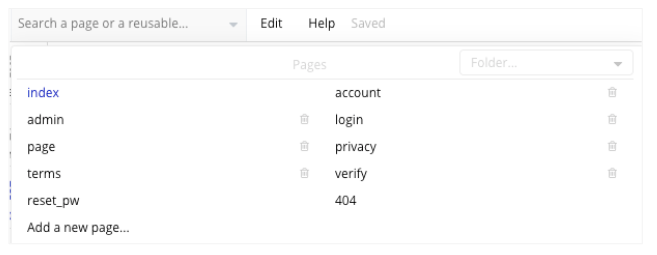
When you use our Canvas chrome extension to import a page, we automatically create an option under the 'Bubble Pages' option set for you. If you manually create a new page or duplicate an existing page in your app, please make sure to add the new page to 'Bubble Pages' option set.
Display attribute
In the header element is a workflow that checks whether the current users role is allowed to access the current page. This is done by checking the page name in the url against the page names listed in this option set.
For this reason, it is imperative that the Display text matches exactly the page name shown in the editor.

If you change the name of a Bubble page, don't forget to update it here!
Private? attribute
When checking for a user's permission to access a page, Canvas checks whether the page is marked as private. If this attribute is set to yes, the user will only be allowed to view the page if this option's List of Roles contains the current user's role.
Roles attribute
This is a list connection to the Role option set. Any user role that should be able to access this page should be added to this list.
Page Redirects
As a best practice we recommend using the index page of your app as the default page to which a user is redirected when the user doesn't meet privacy rules for a specific page. This gives you a single place to manage all the redirects for your application for each type of user role.
In the standard Canvas Template the Index page redirects users to the Admin Portal page if they are logged in as a user with an App Admin role . Otherwise they will not be redirected away from the Index page.

If you create a new page to which a specific role should be redirected, you can add additional actions to the above workflows. For more details on how they are currently set up or how to add conditional redirects see our complete reference for the Index page.
While Canvas provides you a great way to manage user permissions and page redirects at a high level you should always create the appropriate privacy rules to protect your data within the Bubble editor.
Was this helpful?