Admin Portal
Page name: admin Purpose: Fully functional portal for managing all the settings for your application
Due to the complexity of the page and the amount of information that is usually displayed, the Admin portal will not be responsive.
Overview
Your app will come with a dedicated portal for the app’s admin where you can manage app settings & data. Much of this is preset for you, but you will have to customize the page for your app.
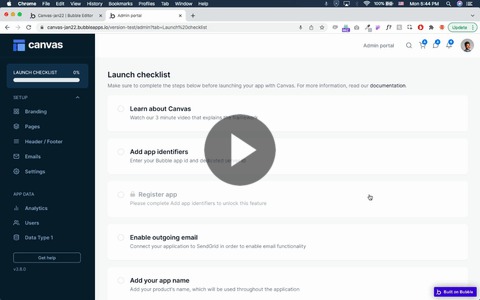
Launch Checklist
This is a compilation of all the settings (from other tabs) that you will need to update or activate before launching your app. The list will disappear when you have checked all items.
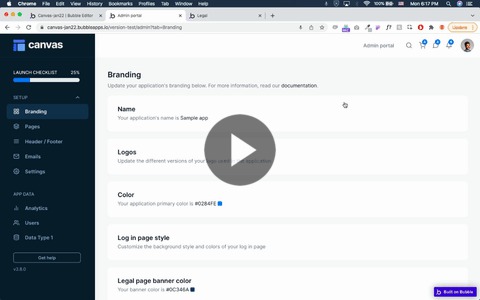
Branding
This is a compilation of all branding related settings for your app. You can manage your app name, SEO/social tags, logos, colors, and certain page styles from this tab.
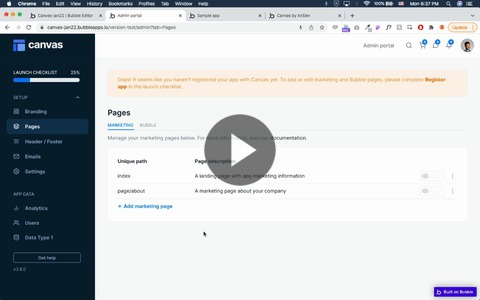
Pages
This tab allows you to view all marketing and Bubble pages in your app. To add marketing pages, you will need to register your app with Canvas first and have your app be on a paid Bubble plan.
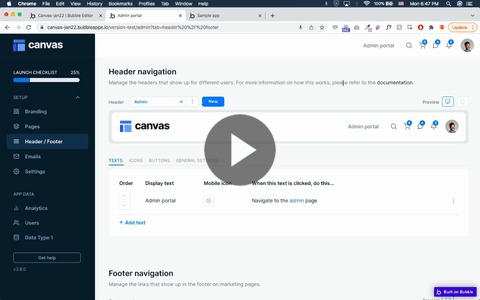
Header/Footer
This tab allows you to customize your header and footer navigations. You will be able to add or edit the headers for each of your app's user types (e.g. admin user, standard logged-in user, and logged-out user).
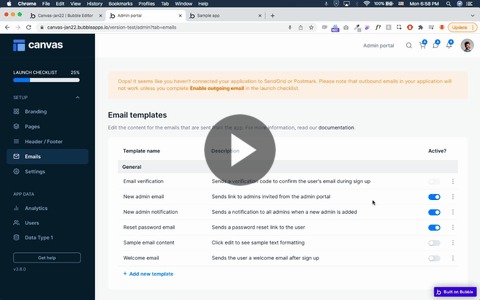
Emails
This tab allows you to manage and edit the content for the emails that are sent from the app. To use this feature, you would need to complete the launch checklist step for Enable outgoing email first.
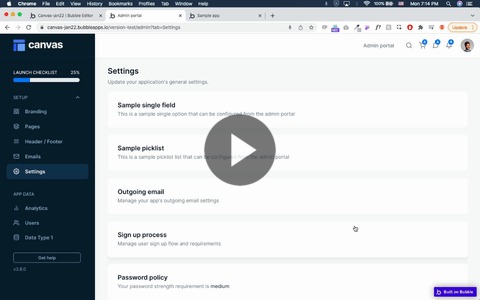
Settings
This is a compilation of your application's general settings (many you would have already seen from the launch checklist).
The Settings tab provides a means for admins to set global variables for the app. Some of these are pre-baked into Canvas, like setting the password policy or cookie settings. But you also can customize your own app-wide settings that can be exposed to app admins (e.g. listing fee or tags).


To do this, find the Group Nav 0/1/5 - Launch & Settings group. Within this group is a reusable element called admin_options. Within this is another reusable called admin_options_settings. You shouldn't need to touch any of the other elements/workflows within admin_options.

Once inside admin_options_settings, you will have access to two button-style groups within Group Collapsible admin-defined options group, one of which launches a popup with a single input, and another which launches a pick-list of options.

The single field popup is updating a dummy field in the website object called dummy option and the sample picklist popup is displaying a list of dummy data.
You should connect up your own data and logic to the buttons and corresponding popups. The add and delete features in the sample picklist popup are disabled by default - you must go into the Bubble editor and enable the add/delete features in order for them to work.


To add additional options to this area, the groups and popups which are used here should be cloned. You can adjust the collapsing range of the reusable using Group PLACEHOLDER.
If you’d like to hide these options entirely, you should go to the reusable, select Group Collapsible admin-defined options group and uncheck This element is visible on the conditional tab.
Analytics
View statistics for your users such a total users, recent signups, and active users.

Users
View all the users in your application, reset passwords, add new admin, and filter by status, name, and role.

Extending the Admin Portal
To extend the admin portal and customize it for your application, the Canvas Base template comes with a placeholder table group that can be copied and customized to add additional views and functionality for your data.
You can find this group in the elements tree as Group Nav 8 - Data type 1 content. On the page this group is located directly below 'Group Nav 7 - Users'.
This group contains a reusable element called admin_datatype1 which contains dummy data.
Make the following changes to customize it for your needs.
General
Update the titles for the Group Nav 8 - Data type 1 content and admin_datatype1 groups (i.e, you might have Group Nav 8 - Posts and admin_posts)
Edit the the New button and add an action when it is clicked
Add an action for the Data button if needed

Set up the repeating group
From inside the reusable elements admin_datatype1, you should:
Data to display
Change the title and data type of the element RepeatingGroup Dummy
Define a data source for the repeating group
Set up the table
Update/add headers in the text elements placed above the repeating group.
Define the dynamic content that corresponds with the headers and will be displayed by the repeating group.
Set up the text that is displayed when no data is found. This is nested under Group inner dummy content > Group no entries.

Navigation
From the admin page, you should
Open FloatingGroup Sidebar_website > Group inner sidebar tab_website > Group Main Nav 9 - Data type 1_text
Change the data source for this group to the text you would like to display in the navigation bar

After each change you make here, make sure to view the web page in version-test in order to check whether it works as expected.
Adding additional tabs to the Admin portal
To add additional tabs to the admin portal, duplicate the Group Nav 8 - Data type 1 content and the admin_datatype1 reusable elements we customized above.
The steps are nearly the same as above but you will need to take the following additional steps.
Replace the reusable element
In your new, parent content group (Group Nav 9 - Data type 2 content, for example), you'll need to replace the admin_datatype1 reusable, which was copied along with the parent group, with your new reusable (admin_datatype2, for example).
Reposition the new group
Move your duplicated group underneath Group Nav 8 so the top of your new group snaps to the bottom of the Group Nav 8.
Resize the placeholder group
Drag the top of the 'Group PLACEHOLDER (do not delete) until the top edge snaps to the bottom of the new group you created
Update the conditional references
Change the reference in the conditional from 'Group Main Nav 8 - Data type 1_text' to 'Group Main Nav 9 - Data type 2_text'
You're all set! You can duplicate the steps above to add as many new data tables as you like!
These guidelines are specific to the Admin portal, but they can be useful as a common design pattern to follow for a portal/dashboard page.
Last updated
Was this helpful?
